Years ago, my cousin Kate who doesn't cook, or at least she didn't used to cook, raved about a blog called
Bakerella. I have been reading the blog regularly, getting all sorts of great ideas, but wndering when I, a young wife who doesn't regularly have large groups of people over, would be able to make some of these awesome creations. Well, I did it.
I will admit, I started with the
basic cake balls, but it was a start. This past weekend we were having friends over with three young children who I knew would get a kick out of the bite size treats. I intended on using green and white chocolate, but my dear husband who picked up the ingredients for me, only found milk chocolate. Bless his heart, I didn't complain! So they went from St. Patrick's Day themed to basic with some decorations.
I already had cake mix and batter in the pantry, as well as some sprinkles and powdered sugar, so I only bought two bags of melting chocolates which was less than $5. I baked the cake according to the standard directions on the back of the box. Once it was cool, I broke up the cake and transfered it to a glass mixing bowl and started turning it into crumbs (my cat appreciated the bits that fell on the floor).
I gradually added vanilla frosting while mixing because I've read mixed reviews about using 1/2 can of frosting versus a whole can, etc. When all was said and done, I used a little more than half. Once it seemed pretty well mixed, I dug in with clean hands to "smush" it all a little more.
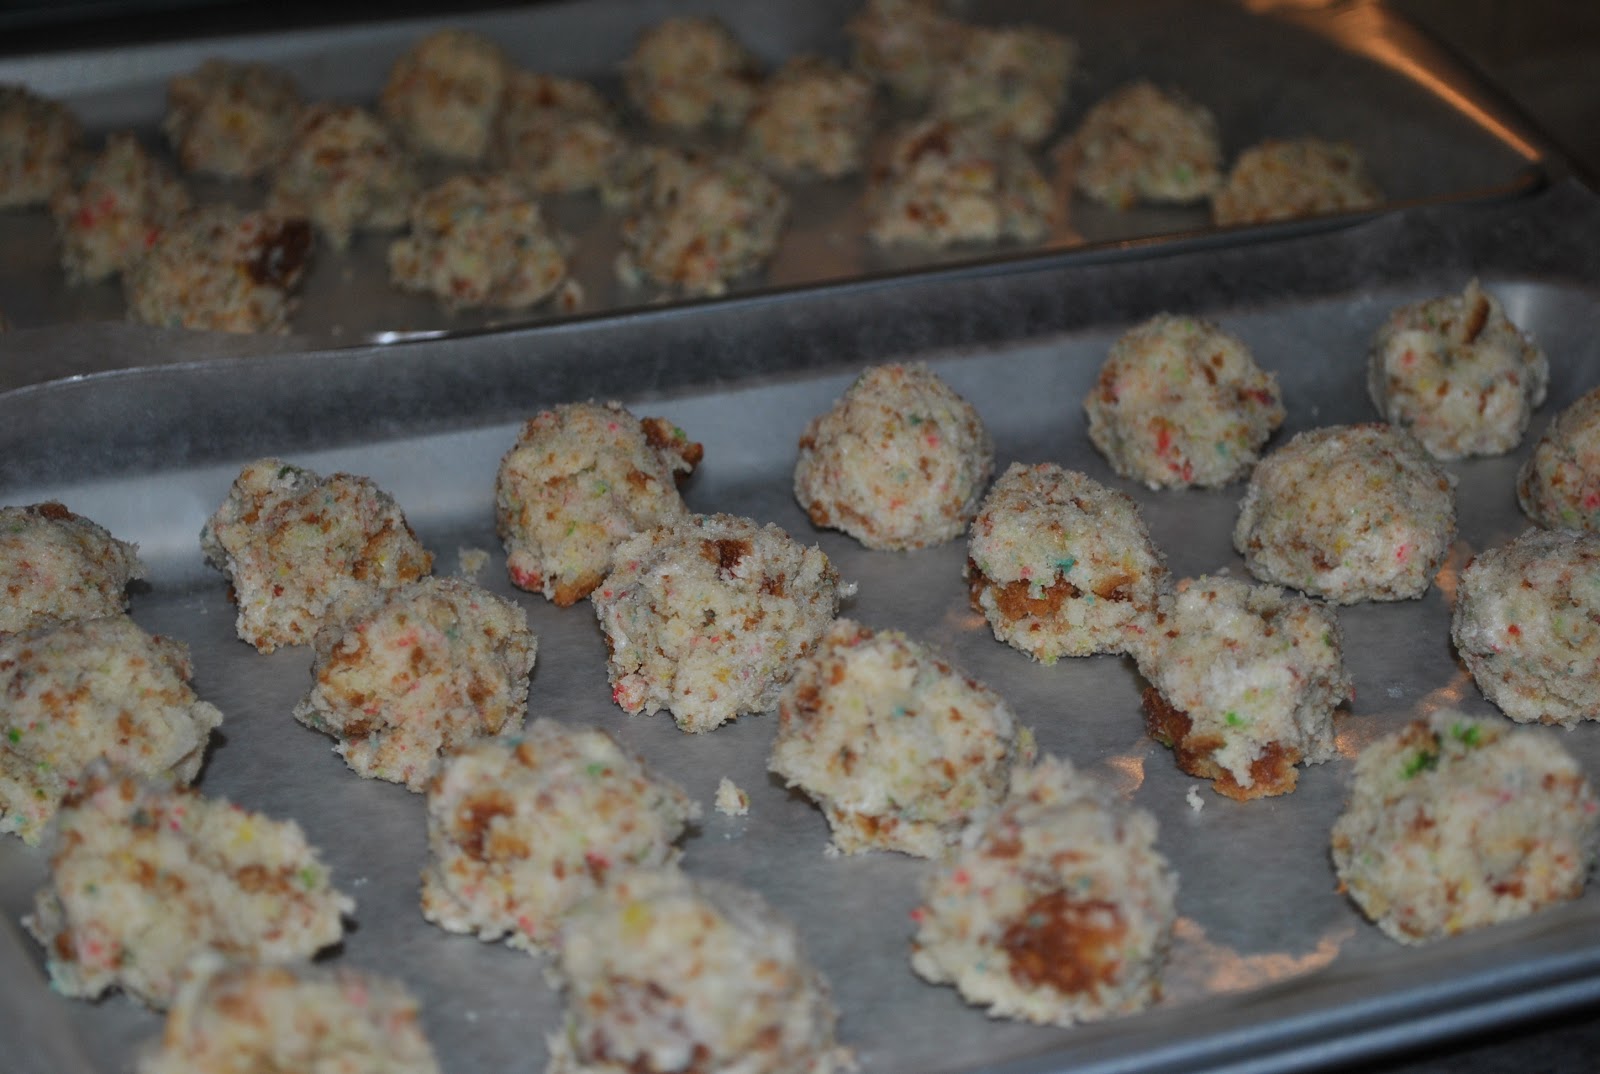
Then you start rolling. If you like making meatballs, you'll be good at this. Oh and it is nice that you are playing with cake, not raw meat. I probably could have made my cake balls a little smaller so they were more bite-size for children, but I learned for next time! I just lined two cookie sheets with wax paper to make clean up a breeze and started rolling.
I got three dozen cake balls out of my one cake. I put the trays in the refrigerator overnight, since pregnant ladies get so tired ;), so they would stick together.
The next day I melted the chocolate wafers and placed 3-4 balls in the bowl at a time to coat with the chocolate.
Once coated, I transferred to wire cooling racks and added sprinkles or powdered sugar while the chocolate was still wet. I did keep some plain, but I knew the kids would like the decorated version.
I put about half of them in the freezer so I have an easy way to satisfy my sweet tooth. My husband really liked them so I will be making them again...hopefully I will take on a more creative version that doesn't look like an elementary school student made them :). I can just see myself hosting birthday parties, playgroups, etc and serving up all sorts of fun treats!
It's a Keeper,
HoH,
Get Your Brag On,
Somewhat Simple,
Weekend Wander,
I <3 Naptime, Weekend
Wrap Up Party